
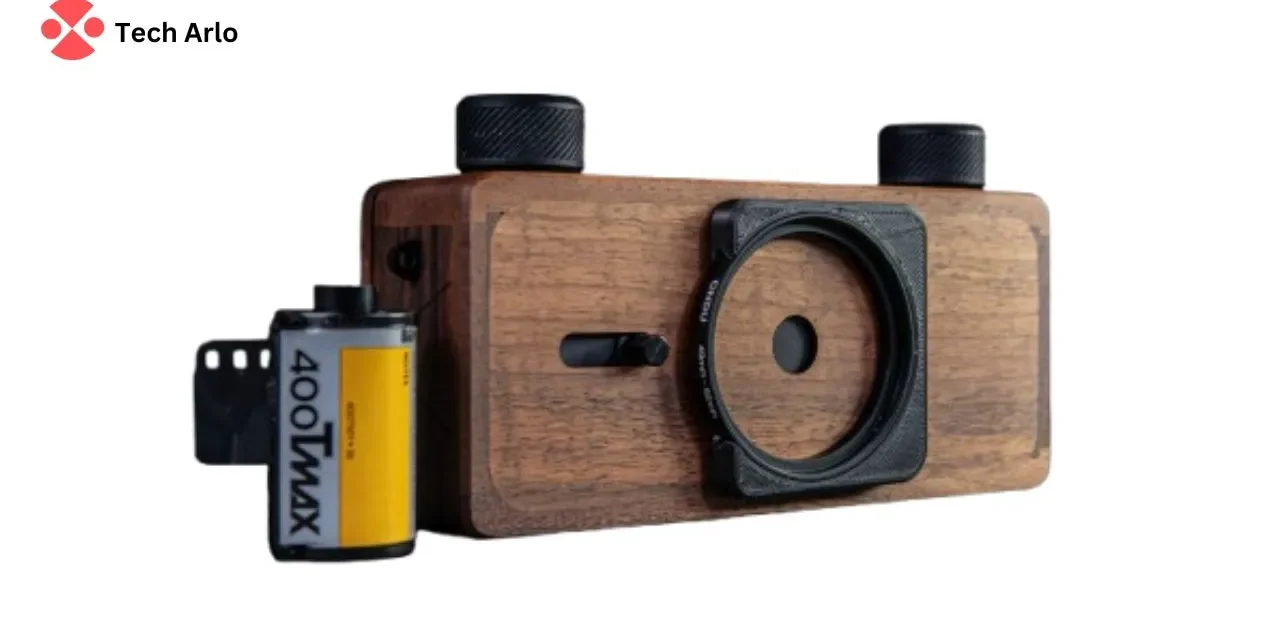
A pinhole camera is a simple optical device that captures images without a lens. By using a tiny aperture, or “pinhole,” it projects light onto a surface, creating an inverted image. This fascinating concept, rooted in the pinhole camera model, has been used for centuries in photography and scientific experiments.
Whether you’re exploring a camera for eclipse viewing or working on a pinhole camera project, its simplicity and versatility make it a timeless tool. Perfect for both beginners and enthusiasts, the pihole camera offers a unique way to understand the basics of light and imaging.
What Is Pinhole Camera
A pinhole camera is a simple imaging device that uses a tiny aperture to capture light. Unlike traditional cameras, it has no lens, relying solely on the pinhole to project an inverted image. This basic yet effective design makes the camera a fascinating tool for understanding photography fundamentals.
Camera photography is a creative and educational way to explore light and composition. Whether you’re building an eclipse camera or experimenting with a pinhole camera DIY project, the process is both rewarding and insightful. It’s perfect for beginners and enthusiasts alike.
From capturing unique photos to observing solar events, the camera offers endless possibilities. Its simplicity and versatility make it a timeless tool for learning and creativity. Try making one today and unlock the magic of pinhole photography!
Who Invented The Pinhole Camera
The camera, one of the simplest forms of a camera, dates back to ancient times. Although its exact inventor remains unknown, the concept was first described by Chinese philosopher Mozi in the 5th century BC. Later, Aristotle observed how light passing through a small hole could create pinhole camera images. This early discovery laid the foundation for understanding light and optics.
Centuries later, the camera became a valuable tool for scientific exploration. During the Renaissance, artists and scientists like Leonardo da Vinci used it to study perspective. Its ability to capture pinhole camera photos without a lens fascinated many. Even today, it remains a popular choice for educational projects and creative photography.
Modern applications of the camera are diverse, from capturing a camera solar eclipse to discreet uses like a spy camera. Its simplicity and versatility continue to inspire photographers and scientists alike. Whether for learning or artistic expression, the pinhole camera remains a timeless invention.
How Does a Pinhole Camera Work
A camera operates on the principle of light passing through a tiny aperture. The small hole, or pinhole, allows light rays to enter and project an inverted image onto a surface. This simple mechanism, often illustrated in a pinhole diagram, demonstrates the basics of how light travels in straight lines.
The pinhole model is a lens-free design, making it an excellent tool for understanding photography fundamentals. By using materials like camera paper, you can create a light-sensitive surface to capture images. This DIY approach highlights the camera’s simplicity and educational value.
Whether used for artistic projects or scientific experiments, the camera remains a timeless device. Its minimalistic design, relying solely on a pinhole and light, showcases the beauty of basic optical principles. From classroom demonstrations to creative photography, the camera continues to inspire curiosity and innovation.
How To Use a Pinhole Camera
Using a pinhole camera is a simple yet fascinating way to explore basic photography principles. Start by creating a small hole in a lightproof box, ensuring it’s the only light source. Place light-sensitive paper or film inside the box opposite the pinhole. This setup, often demonstrated in a pinhole camera class 6 project, captures images through light projection.
To take a photo, point the camera toward your subject in a well-lit environment. Keep the camera steady, as exposure times can be longer than modern cameras. This hands-on approach makes the pinhole camera project ideal for learning about light and optics.
After exposure, carefully remove the film or paper for development. The resulting image will be inverted, showcasing the unique charm of pinhole photography. Whether for educational purposes or creative exploration, the camera offers a timeless way to understand photography basics.
How To Install Pinhole Camera
Discover the simplicity of creating your own camera with this easy guide. Perfect for beginners and enthusiasts alike, learn how to install a pinhole camera for eclipse viewing or a camera model project. Follow these steps to build and set up your camera effortlessly.
Step 1: Gather Materials for Your Pinhole Camera
Start by collecting a lightproof box, aluminum foil, a pin, and light-sensitive paper or film. These materials are essential for building a functional camera. Ensure the box is sturdy and free of light leaks to achieve clear images.
Step 2: Create the Pinhole and Assemble the Camera
Make a small hole in the center of one side of the box using a pin. Cover the hole with aluminum foil and ensure it’s smooth. Place the light-sensitive material inside, opposite the pinhole, and seal the box tightly to prevent light exposure.
Step 3: Set Up and Use Your Pinhole Camera
Position your camera in a well-lit area, pointing it toward your subject. For a camera for eclipse, aim it at the sun safely. Keep the camera steady and allow sufficient exposure time for the image to form on the light-sensitive material.
Step 4: Develop and Enjoy Your Pinhole Camera Images
After exposure, carefully remove the light-sensitive material and develop it in a darkroom. The inverted image will showcase the unique charm of pinhole photography. This camera model project is a rewarding way to explore the basics of light and imaging.
How To Find Pinhole Cameras
Finding a camera for photography or special events like a solar eclipse is easier than you think. Many online retailers offer ready-made cameras, ideal for beginners or those exploring pinhole photography. Alternatively, you can search for DIY kits to build your own camera DIY project.
For unique events like a solar eclipse, specialized eclipse cameras are available. These are designed to safely capture the phenomenon without damaging your eyes. Check photography stores, science shops, or online platforms for eclipse-ready cameras.
If you prefer a hands-on approach, creating a camera solar eclipse viewer at home is simple. Use household items like cardboard boxes and aluminum foil to craft your device. Whether buying or building, cameras offer a unique way to explore photography and science.
Read More: HOW DO TRAFFIC CAMERAS WORK?
What Is The Principle of The Pinhole Camera?
The camera operates on the principle of light traveling in straight lines. Light passes through a tiny hole, projecting an inverted image onto a surface inside the camera. This simple mechanism, used in camera photography, creates unique pinhole images without the need for lenses.
Its design makes it versatile, even for applications like a pinhole spy camera. The absence of complex optics ensures sharp yet dreamy pinhole photos. This timeless concept continues to inspire photographers and hobbyists alike, blending science and art seamlessly.
Types of Pinhole Cameras
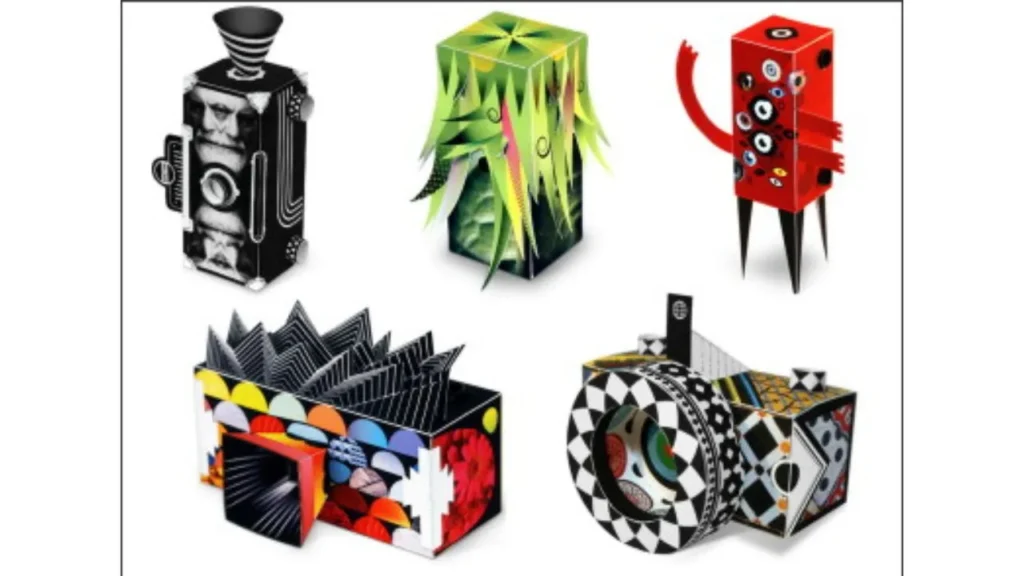
Cameras come in various forms, each designed for specific uses and creative projects. Below is a detailed table showcasing the different types of pinhole cameras, their features, and applications.
| Type of Pinhole Camera | Features | Applications |
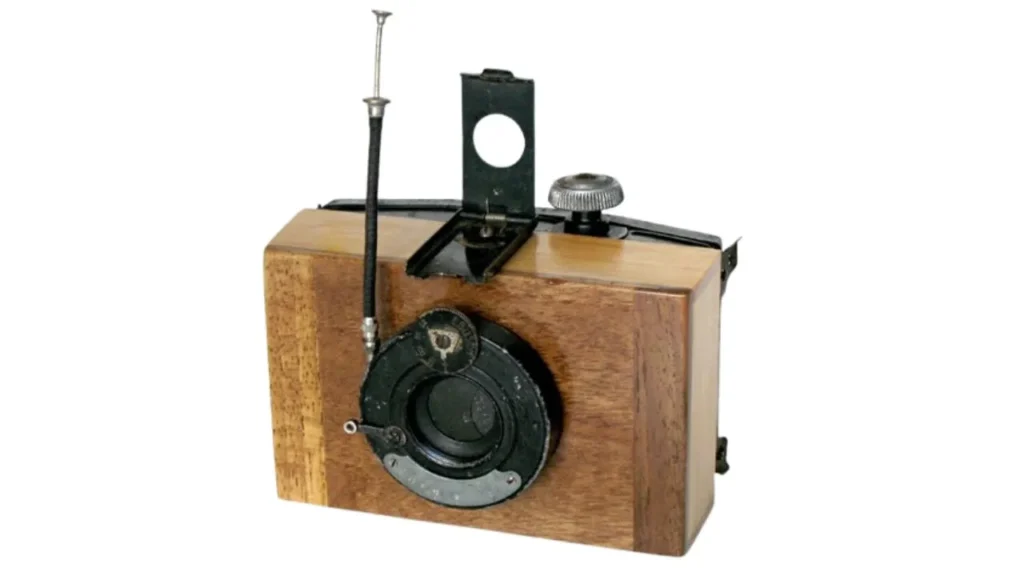
| Basic Box Pinhole Camera | Made from a lightproof box with a tiny hole; simple and inexpensive. | Ideal for beginners and educational projects like pinhole model projects. |
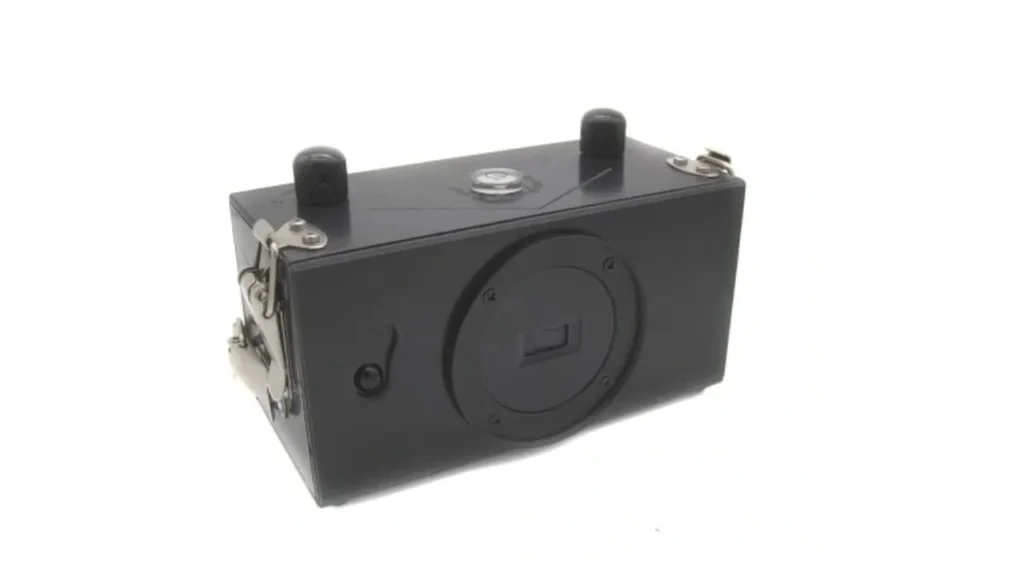
| Cylindrical Pinhole Camera | Constructed using a cylindrical container; compact and portable. | Great for pinhole camera photography and capturing unique pinhole images. |
| Digital Pinhole Camera | Combines a pinhole with a digital sensor; allows instant image viewing. | Perfect for modern photographers experimenting with pinhole camera photos. |
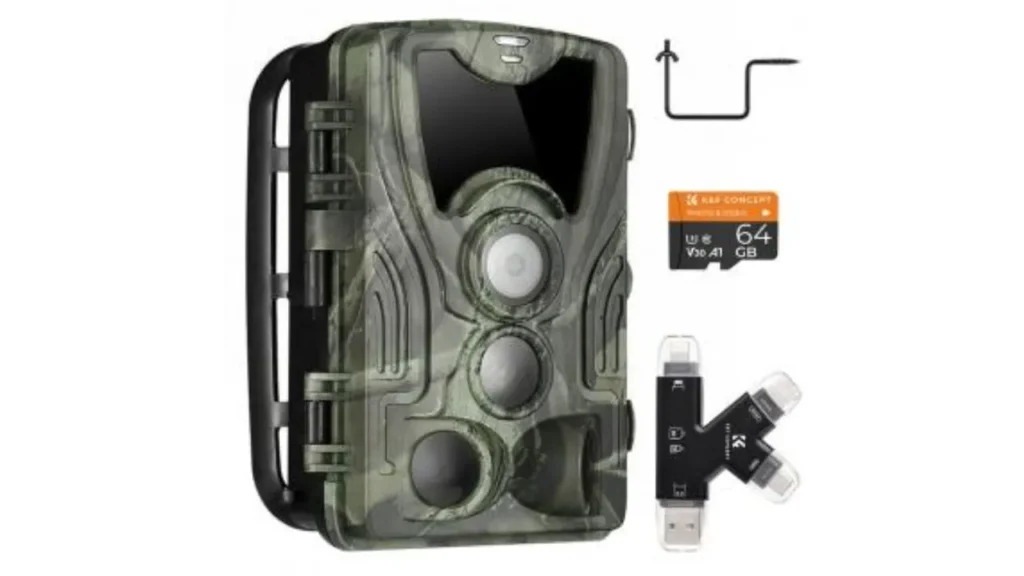
| Pinhole Spy Camera | Discreet design; often used for covert surveillance. | Used in security and monitoring scenarios. |
| Eclipse Pinhole Camera | Specifically designed for safe solar viewing. | Ideal for capturing events like solar eclipses with a camera for eclipse. |
Pinhole Photography Tips and Tricks
Unlock the secrets of pinhole photography with these expert tips and tricks. Whether you’re working on a camera model or studying a pinhole diagram, these insights will elevate your skills. Learn how to create stunning images using just a camera and light-sensitive paper.
1. Choose the Right Materials for Your Pinhole Camera
Select a sturdy, lightproof box or container for your camera model. Use high-quality aluminum foil for the pinhole and ensure the hole is perfectly round. Pair it with light-sensitive pinhole camera paper for sharp, clear images.
2. Optimize Your Pinhole Camera Diagram for Precision
Study a detailed pinhole camera diagram to understand light projection and image formation. Ensure the pinhole size is optimal—too large causes blur, while too small reduces brightness. Proper alignment of components is key to achieving high-quality results.
3. Experiment with Exposure Times for Perfect Shots
Pinhole photography requires patience due to longer exposure times. Start with a few seconds and adjust based on lighting conditions. Use a tripod to keep your camera steady, ensuring crisp camera paper images every time.
4. Develop and Refine Your Pinhole Photography Skills
Practice developing your pinhole paper in a darkroom to master the process. Experiment with different subjects and lighting to explore creative possibilities. Over time, you’ll refine your technique and produce captivating camera images effortlessly.
FAQ’s
What is the main purpose of a pinhole camera?
The main purpose of a camera is to demonstrate basic photography principles using light projection. It creates unique, lens-free images, making it ideal for educational projects and creative photography experiments.
Can I make a pinhole camera at home?
Yes, you can easily make a camera at home using a lightproof box, aluminum foil, and light-sensitive paper. It’s a fun and educational DIY project for beginners.
How long should I expose a photo in a pinhole camera?
Exposure times in a camera vary from a few seconds to several minutes, depending on lighting conditions. Experimentation helps determine the ideal duration for clear, well-exposed images.
What materials are best for making a pinhole camera?
The best materials for a camera include a sturdy lightproof box, aluminum foil for the pinhole, and light-sensitive paper or film. These ensure sharp, high-quality images.
What are the advantages of a pinhole camera over a regular camera?
A camera offers simplicity, infinite depth of field, and unique, dreamy images. It’s also cost-effective and great for understanding basic photography principles without complex lenses.
Conclusion
In Conclusion, The pinhole camera is a timeless tool that beautifully blends simplicity with creativity. From its basic design to its educational value, the camera offers a unique way to explore photography and light principles. Whether you’re building a camera model, capturing pinhole images, or using it for special events like an eclipse, its versatility is unmatched.
This guide has covered everything from its history to practical tips, making it easy for beginners and enthusiasts alike to dive into pinhole photography. Embrace the charm of this lens-free device and discover the magic of capturing the world through a tiny aperture. The camera truly proves that sometimes, simplicity leads to the most profound discoveries.


