
Setting up your Geeni Camera on WiFi is quick and hassle-free. Whether you have a Geeni security camera, Geeni doorbell camera, or need to use the Geeni camera app, this guide will help. A stable connection ensures seamless monitoring, whether viewing your Geeni camera on a computer or mobile.
In this article, you’ll learn how to connect your device step by step. Follow these simple instructions to avoid setup issues and maximize security. Stay informed and secure with your Geeni Camera today. Let’s get started with the easy installation process now.
Are Geeni Cameras Good?
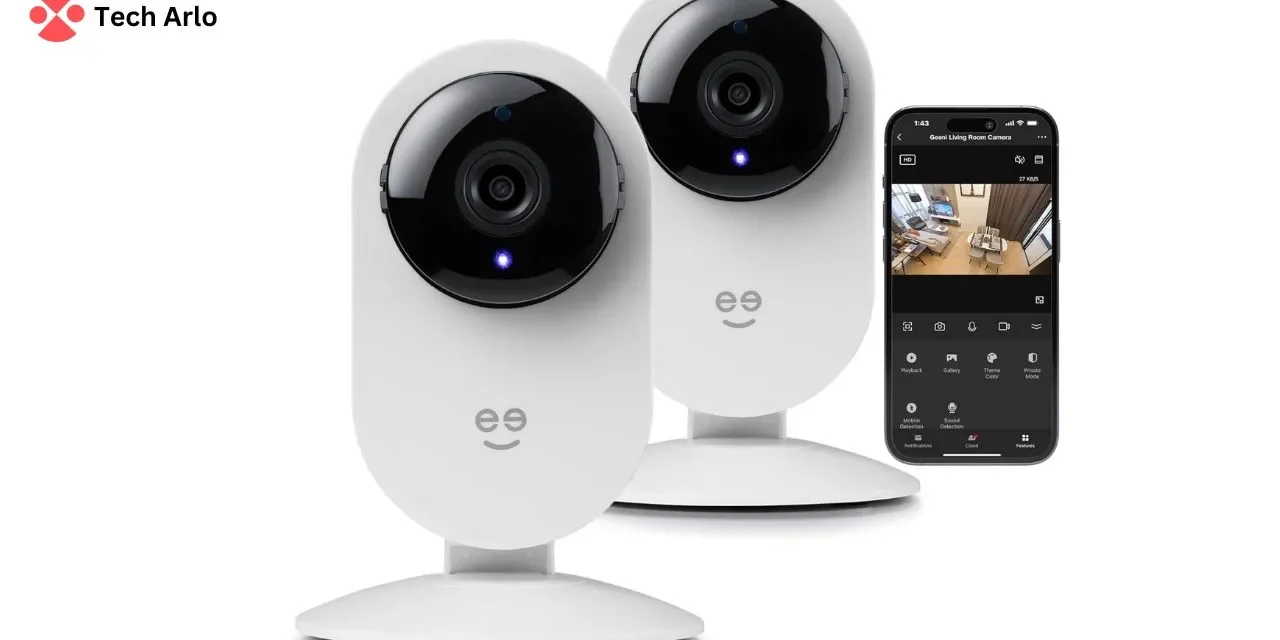
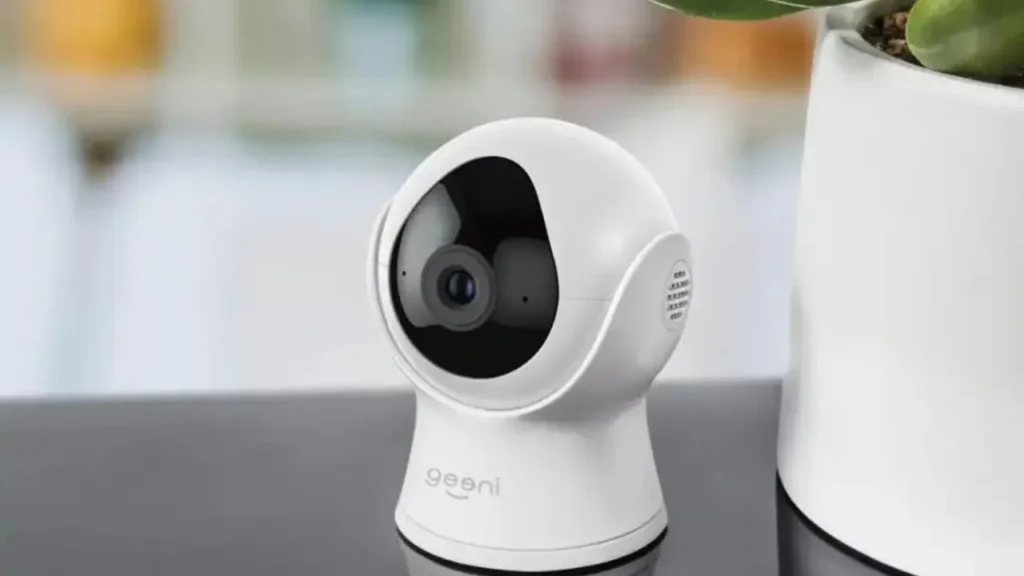
Geeni Camera is a reliable choice for home security with smart features and affordability. Whether buying from Geeni Camera Walmart or online, these cameras offer HD video and night vision. Their compact design and user-friendly interface make them great for any home setup.
Setting up a Geeni WiFi Camera is simple with the Camera Setup process. The app guides you through connection and ensures seamless integration with smart home devices. Remote access allows real-time monitoring anytime, anywhere.
Logging in is easy with the Geeni Camera Login feature, keeping your data secure. These cameras provide excellent security without expensive subscriptions or complex installations.
Are Geeni Cameras Safe?
Geeni security cameras are designed with encryption and password protection to ensure user safety. These cameras use advanced security protocols to prevent unauthorized access and data breaches. Always update firmware and use strong passwords to enhance your device’s security.
The Geeni floodlight camera provides added protection with motion detection and real-time alerts. Secure cloud storage options and local storage ensure your footage stays private. Regular software updates further improve security and functionality.
Downloading the camera app from official sources is essential for safe usage. Always complete the Geeni camera app download from trusted app stores to avoid security risks.
How To Connect Geeni Camera To WiFi
Step 1: Prepare Your Geeni Camera for Installation
Before setting up, ensure your Geeni Camera installation is complete and the device is powered on. Open the app and reset the camera if needed to start fresh. A strong WiFi connection is necessary for a stable setup process. Always use a 2.4GHz network for compatibility.
Step 2: Connect Geeni Camera to WiFi
Launch the app and select Camera connect to WiFi from the setup menu. Follow the on-screen instructions to enter your WiFi details correctly. Ensure your phone is near the router for a smooth pairing process. A stable connection prevents potential issues during setup.
Step 3: Troubleshooting Geeni Camera Offline Issues
If your Camera offline message appears, restart your router and check the signal strength. Ensure your camera is within range of the WiFi network for proper connectivity. Updating firmware and re-entering WiFi credentials can resolve persistent offline issues quickly.
How To Set Up Geeni Camera
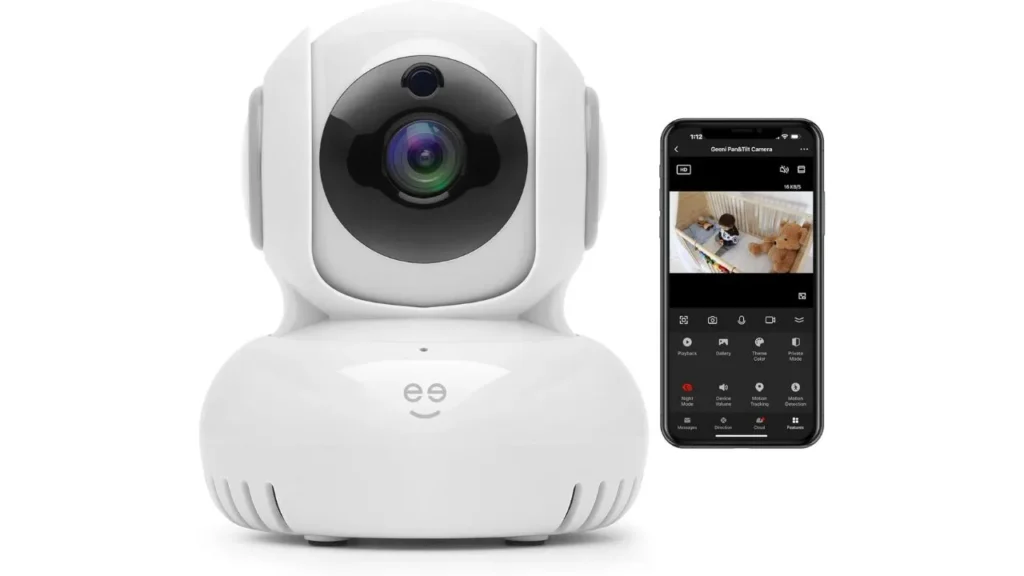
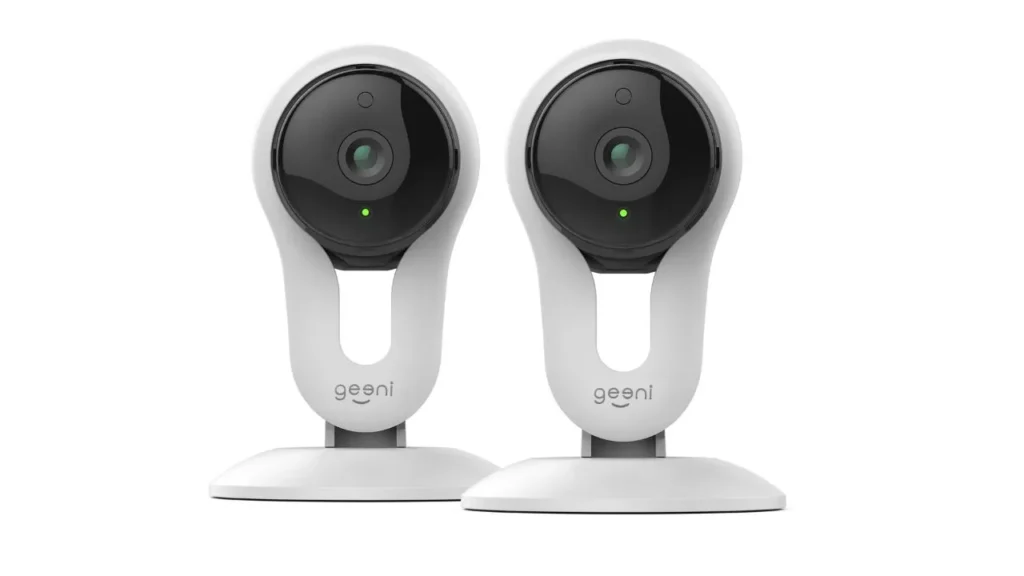
Setting up a Camera is simple and requires just a few steps. Whether using a Geeni wireless camera or a wired model, this guide will help.
1. Unbox and Prepare Your Geeni Camera
Before setup, ensure all accessories are included in the package. Check for the power adapter, mounting tools, and user manual.
Plug in your Geeni wireless camera and place it in the desired location. Ensure a stable power source and strong WiFi connection for smooth installation. Read camera reviews to understand user experiences before setup.
2. Download and Install the Geeni Camera App
To control your camera, install the official Geeni camera app on your device. The app allows you to manage settings, view live footage, and receive alerts.
Go to the App Store or Google Play for a safe camera app download. Avoid third-party sources to prevent security risks and compatibility issues.
3. Connect Your Geeni Camera to WiFi
A strong WiFi connection is essential for smooth camera performance. Open the camera app and follow the on-screen instructions to connect.
If your camera not connecting, restart your router and check for interference. Ensure you’re using a 2.4GHz WiFi network, as 5GHz may not be supported.
4. Customize Camera Settings and Features
After a successful connection, personalize your camera settings for optimal security. Adjust motion detection, night vision, and recording preferences in the app.
Many users in Geeni camera reviews recommend enabling cloud storage for extra safety. You can also set up alerts to monitor activity in real time.
5. Test and Finalize Your Setup
Once everything is configured, test the camera to ensure smooth operation. Check the live feed, test motion detection, and verify WiFi stability.
If your camera not connecting after setup, reset the device and try again. Enjoy secure surveillance with your Geeni wireless camera for complete peace of mind.
Read More: WHAT IS THE BEST CELLULAR TRAIL CAMERA?
WHAT IS A PAPER SHOOT CAMERA?
HOW DOES A SEWER CAMERA WORK?
How Does The Geeni Camera Work?
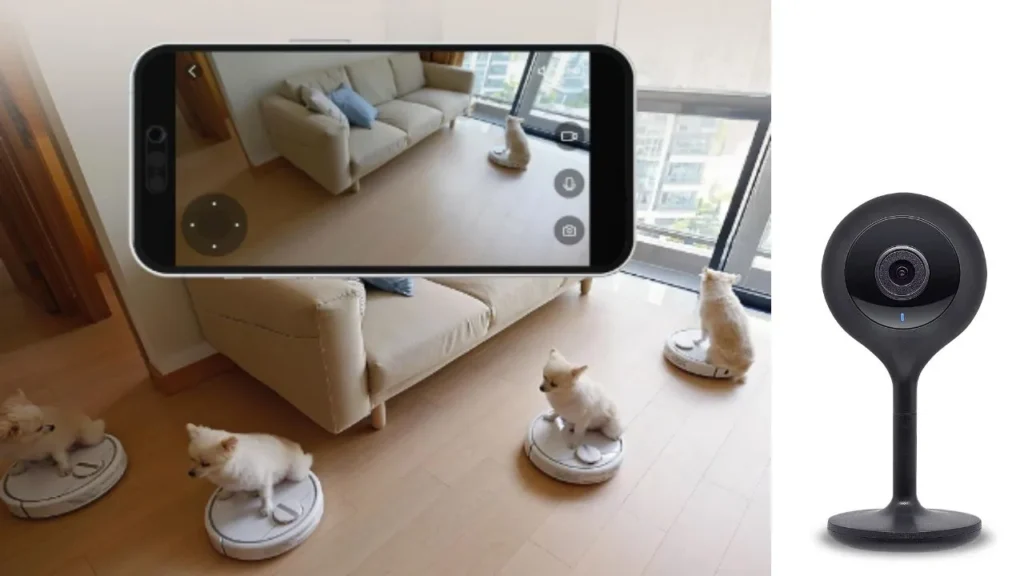
The Camera operates through a WiFi connection, allowing remote access via an app. Users can monitor live footage, receive motion alerts, and store recordings securely. A stable network ensures smooth performance and uninterrupted surveillance. If the Geeni camera red light blinks, it indicates a connectivity issue.
Motion detection and night vision enhance security by capturing clear footage in any lighting condition. When a solid red light on Camera appears, the device may be booting up. Regular updates and correct placement help maintain optimal performance and reliability.
Using the Camera app, users can customize settings, review recordings, and manage security features. If connectivity issues arise, troubleshooting steps like resetting the camera can help. Monitoring through the app ensures 24/7 surveillance with real-time notifications for enhanced security.
Do Geeni Cameras Record Without WiFi?
Cameras primarily rely on WiFi for real-time monitoring and cloud storage access. Without WiFi, they cannot stream live video through the Geeni camera app or send motion alerts. However, some models support local storage, allowing recordings to save on a microSD card.
If you need offline recording, check if your Geeni doorbell camera or security model supports SD card storage. This feature ensures video is saved even when WiFi is unavailable. Once reconnected, footage can be accessed through the app.
To view recorded videos, you can use the Geeni camera on a computer or mobile device. Always ensure your camera has storage enabled for continuous recording.
How To Insert SD Card In Geeni Camera
Expanding storage on your Geeni security camera with an SD card is simple. An SD card allows continuous recording without relying on cloud storage. Ensure your Geeni WiFi camera is powered off before inserting the card.
Locate the SD card slot, usually found on the side or back of the device. Gently insert the SD card until it clicks into place. Power on the camera and access the Geeni camera login to format the card.
After setup, your camera Walmart purchase can store footage locally. Check recording settings in the app to ensure proper functionality and data storage.
How Do I Change The WiFi On My Geeni Camera?
Changing the WiFi on your Camera is simple with the right steps. First, reset the camera by holding the reset button for a few seconds. This process will erase previous network settings and allow you to connect to a new WiFi.
Next, open the Camera app and follow the setup instructions carefully. Select your new WiFi network and enter the correct password for a stable connection. Ensure you are using a 2.4GHz WiFi network, as 5GHz may not work.
Finally, test your camera to confirm a successful connection to the new WiFi. If issues persist, restart your router and retry the setup process.
Why Is My Geeni Camera Not Connecting?
A Camera may fail to connect due to weak WiFi or incorrect settings. Ensure your device is on a 2.4GHz network for proper compatibility. Restart your router and camera to resolve temporary connection issues quickly.
Check the Geeni camera app for firmware updates and correct network credentials. Outdated software or incorrect passwords can cause connectivity problems. Reset the camera and reconnect it if issues persist.
Interference from walls, electronic devices, or distance can weaken the signal. Place your Camera closer to the router for a stable connection. A strong internet connection ensures smooth streaming and reliable security monitoring.
How To Delete Video On Geeni Camera
Managing recordings on your Camera is simple with the Geeni app. Deleting unnecessary videos helps free up storage and maintain privacy. Always ensure you back up important footage before deletion.
Open the Geeni Camera app and navigate to the recorded videos section. Select the video you want to delete and confirm the action. This process permanently removes the footage from your device.
If using cloud storage, delete videos through the cloud settings in the app. Some Camera models may require a factory reset to clear all stored data.
FAQ’s
Are Geeni Cameras Waterproof?
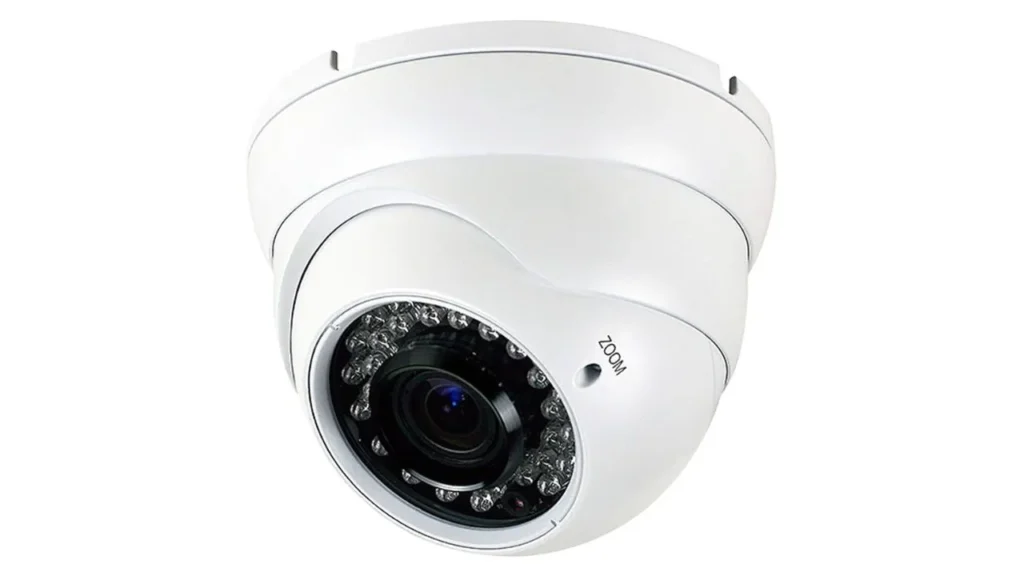
Some cameras are waterproof, like the Geeni floodlight camera, designed for outdoor use. Always check your model’s specifications before installing it in exposed areas.
Can Geeni Cameras Be Hacked?
While cameras use encryption, weak passwords can make them vulnerable. Always update firmware, use strong passwords, and enable two-factor authentication for extra security.
Can I View My Geeni Camera Online?
Yes, you can view your Geeni camera online using the camera app. Ensure your camera is connected to WiFi and linked to your account.
Does Geeni Camera Work With Alexa?
Yes, cameras work with Alexa for voice control. Enable the Geeni skill in the Alexa app and connect your device for hands-free monitoring.
How To Share Geeni Camera?
Open the camera app, go to device settings, and select “Device Sharing.” Enter the recipient’s email to grant access while maintaining control over permissions.
Why Is My Geeni Camera Offline?
A camera may go offline due to weak WiFi, power issues, or firmware problems. Restart the router, check power connections, and update the camera’s firmware to restore connectivity.
Conclusion
In Conclusion, Setting up and using a Geeni Camera is simple, ensuring reliable security for your home. Whether using a Geeni security camera or a Geeni doorbell camera, a strong WiFi connection is essential. Following the correct setup steps prevents connectivity issues and enhances performance.
For optimal use, regularly update the Geeni Camera firmware and adjust security settings. Features like motion detection, night vision, and cloud storage improve surveillance. Troubleshooting common issues like offline status helps maintain a stable connection.


